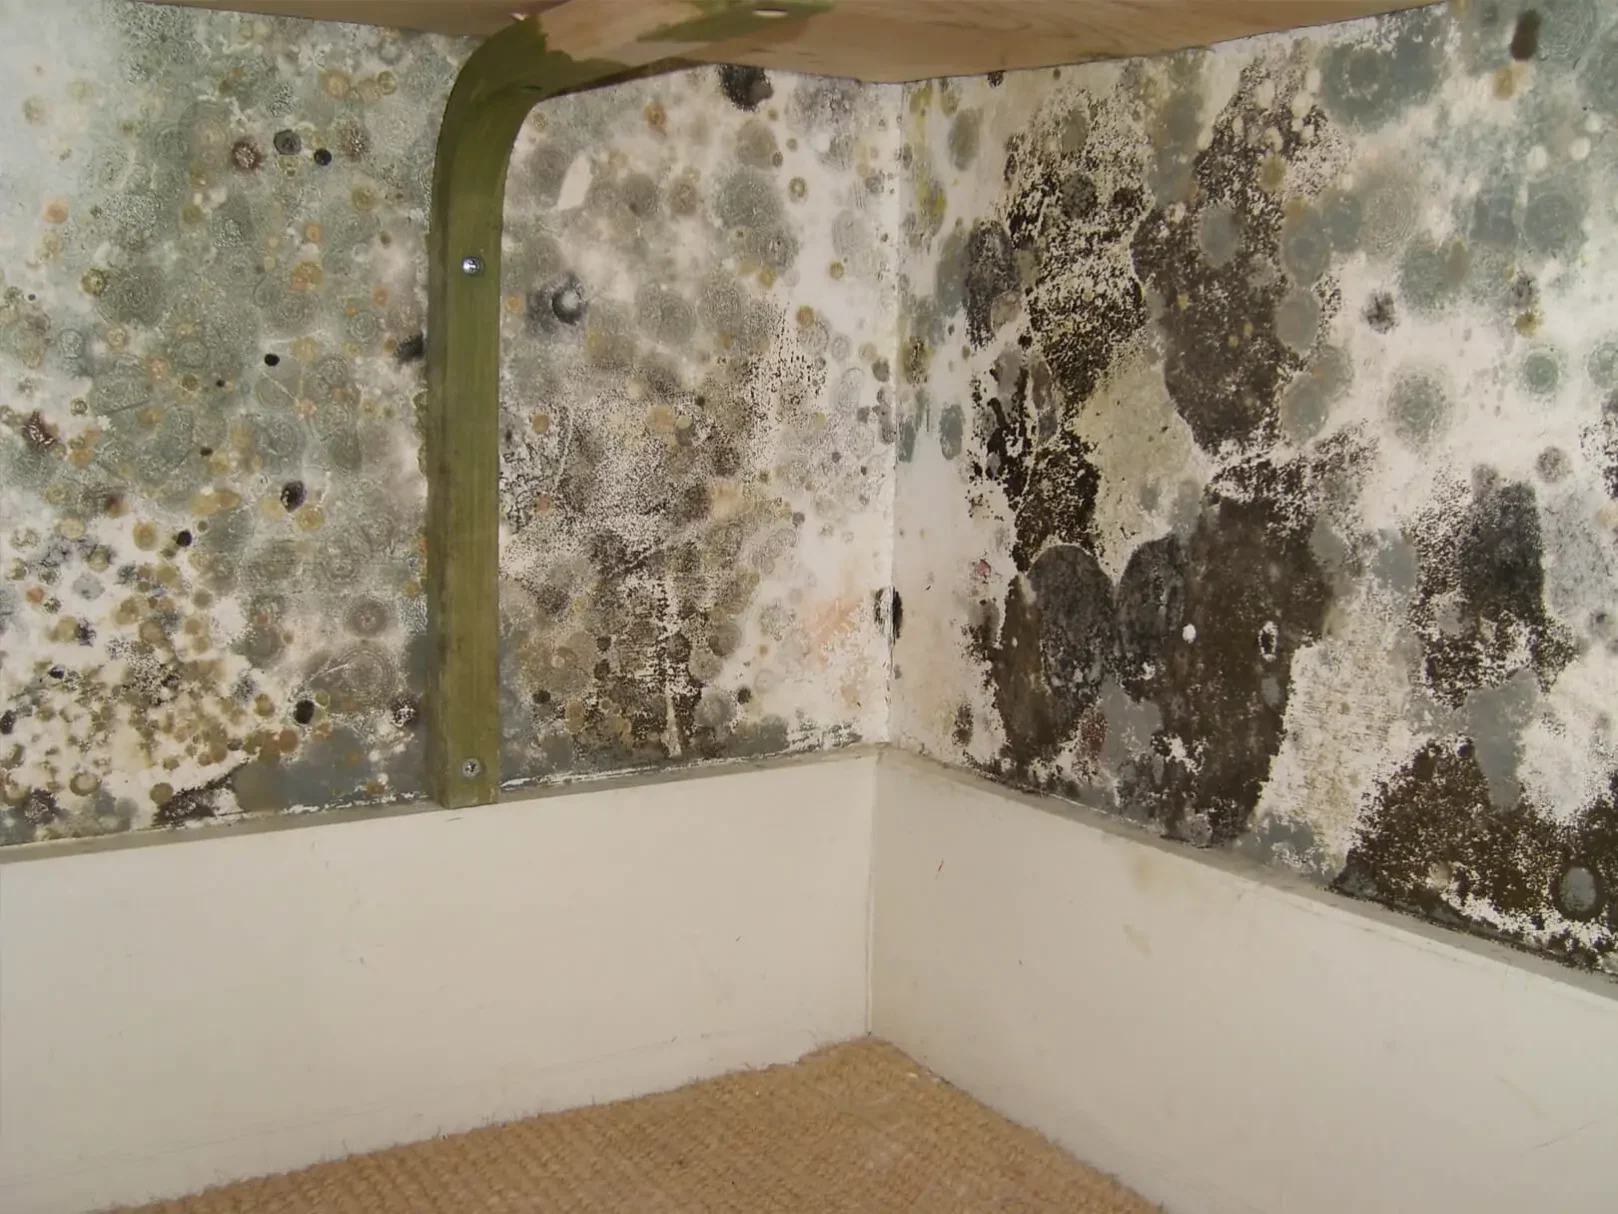
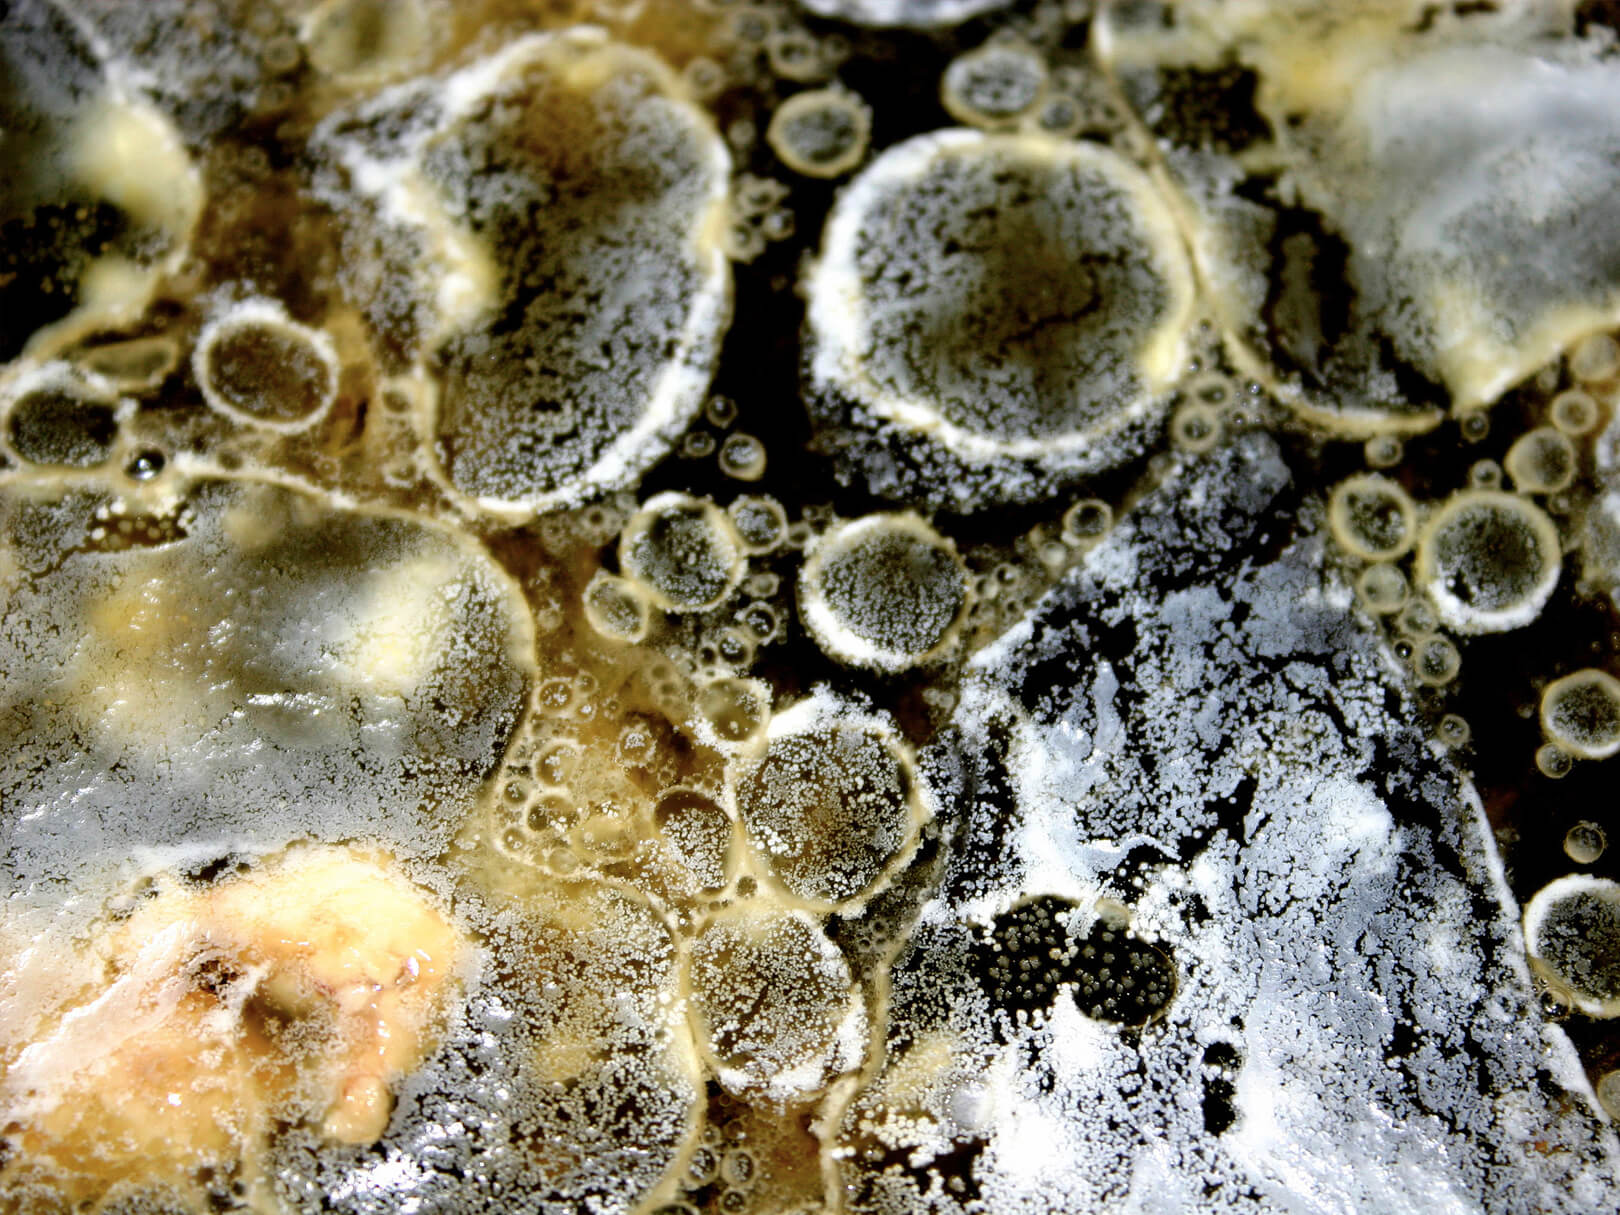
It is not enough to just know how to remove mould, you also need to know how to prevent its return, otherwise, you will find that it just keeps reappearing time and time again.
Excess moisture is the main cause of mould. Without removing this excess in moisture, you cannot effectively prevent the regrowth of mould. We have explored the possible reasons why you may be experiencing excess moisture in your building in our previous blogs, and also the ways in which to control it. To benefit from effective mould removal, and to prevent its return, we strongly recommend that you read the entirety of the posts.
When deciding whether to attempt DIY mould removal or whether to seek professional help, it is important to understand the size of the affected area.
Mould contamination is rated as follows:
- Level 1 – contamination with a total surface area less than 1 square metre
- Level 2 – contamination with a total surface area between 1 and 10 square metres
- Level 3 – contamination with a total surface area greater than 10 square metres
- Level 4 – contamination within a HVAC system
- Levels 1 and 2 do not usually require professional attention and can generally be resolved using DIY removal methods.
DIY Mould Removal
When searching the internet for DIY mould removal tips, there is a lot of advice available. But how do you know which advice is accurate and which advice can actually cause more harm than good?
Chlorine Bleach
There are a lot of sources which suggest the use of chlorine bleach in a variety of different solution ratios. Whilst this advice isn’t incorrect per se, it is crucial that you understand when and why chlorine bleach should not be used.
Chlorine bleach is only effective against surface mould on hard surfaces such as tiles and glass. This is because mould will penetrate the surface it is growing on wherever possible and the properties of chlorine bleach prevent the well-known household cleaner from soaking into the material.
If chlorine bleach is used on porous surfaces, the mould will appear to have gone as it has been bleached white, but its roots will still be embedded into the material and the mould will “grow back”. However, and perhaps more worryingly, if chlorine bleach is used on a porous surface for mould remediation, it could actually exasperate the problem and your cleanup attempt could inadvertently make the issue worse.
Chlorine bleach contains a significant amount of water and evaporates within a short period of time. Therefore, if chlorine bleach is applied to a porous surface, the bleach cannot penetrate, but the water does. Once the bleach has evaporated, just the water is left – the one thing that mould thrives on.
You also need to take into account the possible side effects of using chlorine bleach on porous materials. If used on wood, for example, the chlorine bleach can weaken and damage it as the bleach will break down the wood’s fibres.
While there is no official recommendation in the UK, it’s worth noting that in the USA, the use of chlorine bleach is no longer recommended in mould remediation by either the OSHA (Occupational Safety and Health Administration) or the EPA (Environmental Protection Agency).
Other DIY Mould Removal Methods
While the use of chlorine bleach for mould remediation is discouraged, oxygen bleach can see good results. Oxygen bleach is capable of penetrating porous surfaces. The oxygen bubbles break the bond between the material and the mould, then pulls the mould up and out, completely removing it.
For small patches of mould, some reports claim that household items such as vinegar, baking soda, liquid dish detergent and alcohol-based solutions and wipes have seen effective results. If you decide to try any of these methods, you should carry out your own research on application and safety advice.
Ammonia is another method which should be avoided as, like chlorine bleach, it is unable to penetrate porous surfaces.


